Are you a fish enthusiast looking to add a new aquarium to your home? In this article, you will learn the step-by-step process of building your own DIY aquarium stand. Whether you’re a seasoned DIYer or just starting out, we’ve got you covered with easy-to-follow instructions and helpful tips. From choosing the right materials to assembling the stand, you’ll have everything you need to create a sturdy and stylish stand that perfectly suits your aquarium. Get ready to dive into this exciting project and give your underwater friends a beautiful new home.
Gathering Materials
Before you start building your DIY aquarium stand, you’ll need to gather all the necessary materials. The first step is to determine the size of the aquarium you’ll be using. Measure the length, width, and height of your tank so you can build a stand that will properly support it.
Next, you’ll need to select the right type of wood for your aquarium stand. Look for sturdy and durable wood that can withstand the weight of the tank. Common options include pine, plywood, or hardwoods like oak. Consider the aesthetics as well, choosing a wood that matches your home décor.
Once you have your wood selected, it’s time to gather the necessary tools and equipment. You’ll need a measuring tape, a saw for cutting the wood, sandpaper for smoothing surfaces, screws or nails for securing the stand, and a screwdriver or drill. Additionally, you may want to have a level and a carpenter’s square on hand to ensure everything is straight and square.
Preparing the Wood
Before you start assembling the aquarium stand, you’ll need to prepare the wood pieces. Start by measuring and cutting the wood according to your pre-determined dimensions. Use a saw to carefully make accurate cuts, ensuring that each piece is the correct size for your stand.
After cutting the wood, it’s important to sand and smooth the surfaces. This step not only improves the appearance of the stand but also removes any rough edges that could potentially harm the aquarium or its inhabitants. Use sandpaper with a fine grit to achieve a smooth finish.
If you’re looking to add some decorative touches to your DIY aquarium stand, now is the time to do so. You can use additional pieces of wood to create patterns or designs on the sides or front of the stand. Get creative and personalize your stand according to your preferences.
Building the Base
The base of your aquarium stand provides the foundation for the entire structure. Start by creating the top and bottom frames using the appropriately sized pieces of wood. Connect the corners of the frames using screws or nails, ensuring a sturdy and secure connection.
Once the top and bottom frames are in place, it’s time to attach the side supports. Cut additional pieces of wood to the desired height of your stand, ensuring they are the same length as the sides of the frames. Attach these supports to the frames using screws or nails, reinforcing the stability of the stand.
To further strengthen the base, add support beams between the side supports. These beams will distribute the weight of the aquarium evenly, preventing any sagging or bowing. Cut the beams to the appropriate length and attach them at regular intervals along the side supports.
Assembling the Stand
Now that the base is complete, it’s time to assemble the rest of the aquarium stand. Begin by attaching the sides to the base, ensuring everything is aligned properly. Use screws or nails to secure the sides to the side supports, creating a solid and stable structure.
Once the sides are securely attached, double-check the stability of the stand. Shake it lightly and ensure there is no wobbling or movement. If necessary, make any adjustments or add additional support to ensure the stand is level and sturdy.
To further reinforce the stability of the stand, consider securing it to the wall. This can be done by attaching L-brackets or angle irons to the back of the stand and screwing them into the wall studs. This will prevent the stand from tipping over in case of accidental bumps or vibrations.
Finishing Touches
With the stand assembled and secured, it’s time to add some finishing touches to enhance its appearance and durability. You can choose to apply stain, paint, or varnish to the wood to protect it from moisture and give it a polished look. Make sure to allow the finish to fully dry before proceeding to the next step.
To protect the wood from any potential water damage, it’s essential to add a waterproof sealant. Apply the sealant to all surfaces of the stand that will come into contact with the aquarium or any spilled water. This will prevent the wood from swelling or warping over time.
In addition to the sealant, consider installing adjustable leveling feet. These feet will allow you to adjust the height and levelness of the stand, even on uneven surfaces. This is especially important to ensure the stability of the aquarium and prevent any stress or pressure on the glass.
Adding Storage Space
If you’re looking to maximize functionality, you may want to consider adding storage space to your DIY aquarium stand. Begin by constructing shelves or cabinets using additional pieces of wood. Ensure that the shelves or cabinets are securely attached to the stand, and can support the weight of any items you plan to store.
When building the shelves or cabinets, it’s important to ensure adequate support for weight. Reinforce the structure with additional crossbeams or braces to prevent sagging or collapsing. This will ensure that your storage space remains safe and sturdy.
Once the storage space is constructed, finish it off with any desired decorative touches, like trim or handles. Consider painting or staining the shelves or cabinets to match the rest of the stand, creating a cohesive and visually appealing look.
Testing and Adjustments
Before placing your aquarium on the stand, it’s crucial to test its levelness and stability. Use a level to ensure that the stand is perfectly horizontal, making any necessary adjustments by adding shims or adjusting the leveling feet. This will prevent any stress on the aquarium and ensure its longevity.
Additionally, check the weight-bearing capacity of the stand. While it should be built to support the weight of your aquarium, it’s always a good idea to test it by placing heavy objects on top. This will give you peace of mind that the stand can safely support the weight of the water-filled tank.
Setting up the Aquarium
Once the stand is complete and thoroughly tested, it’s time to set up your aquarium. Begin by thoroughly cleaning the tank to remove any dirt or debris. Rinse it with water and wipe it down with a clean cloth, ensuring it’s ready for your aquatic friends.
Next, install any necessary aquarium equipment, such as filters, heaters, or lighting fixtures. Follow the manufacturer’s instructions for proper installation and placement. Test the equipment to ensure everything is functioning correctly before proceeding.
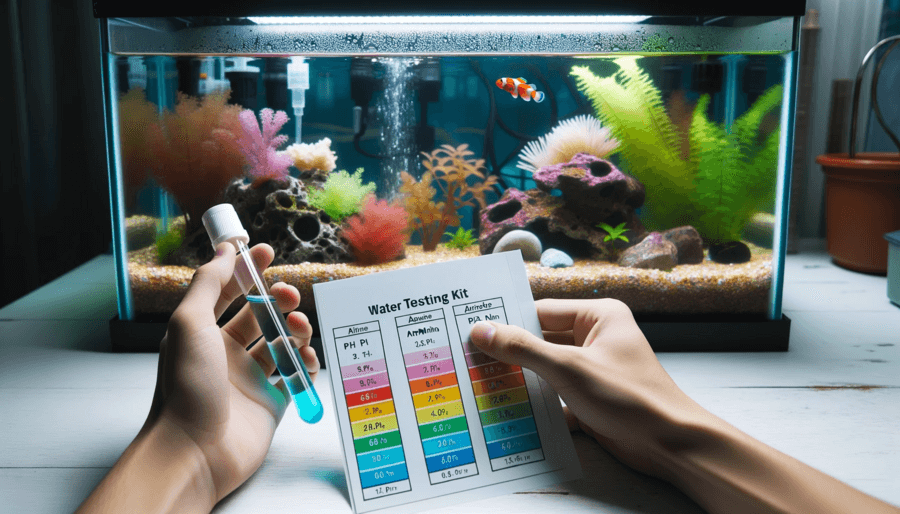
Finally, fill the tank with water, being mindful of any specific water parameters required for your fish or plants. Take your time during this step to prevent any spills, ensuring that the stand and the surrounding area remain dry and secure.
Maintaining the Stand
To keep your DIY aquarium stand in optimal condition, regular cleaning and dusting are necessary. Use a soft cloth or duster to remove any dust or debris that may accumulate on the surfaces. Avoid using harsh chemicals or abrasive materials that could damage the wood finish.
In addition to regular cleaning, it’s important to monitor the stand for any signs of moisture or damage. Check for water spills or leaks from the aquarium that could cause damage to the wood over time. If you notice any areas of concern, address them promptly to prevent further deterioration.
If needed, make any necessary repairs or replacements to maintain the structural integrity of the stand. This may involve replacing damaged wood pieces, reinforcing joints, or applying additional sealant as needed. Regular maintenance will extend the lifespan of your DIY aquarium stand.
Safety Considerations
When building and using your DIY aquarium stand, there are important safety considerations to keep in mind. First and foremost, ensure proper weight distribution by using the appropriate materials and construction techniques. The stand should be built to handle the weight of the aquarium without any strain or risk of collapsing.
To further enhance safety, it’s recommended to secure the stand to the wall, especially for larger or taller aquariums. This will minimize the risk of the stand tipping over due to accidental bumps or uneven weight distribution. Make sure to use appropriate hardware and secure the stand to wall studs.
Lastly, avoid overloading or creating imbalanced loads on the stand. Follow guidelines for the maximum weight your stand can safely support and distribute the weight evenly across the base. This will prevent any stress on the stand and ensure the safety of your aquarium and its inhabitants.
Building a DIY aquarium stand can be a rewarding and cost-effective way to showcase your aquarium while ensuring its stability and safety. By following these steps and considering the necessary materials and safety precautions, you can confidently construct a stand that will provide a sturdy and attractive home for your aquatic pets.